Vukah Brawler — Poison and Fog Weak Hammer Boss, the Jezmina Reward
Vukah Brawler boss guide for Enshrouded: dodge the leap slam, punish the recovery window, watch the full fight video, and see the verified loot.
Editor’s note: We have been testing this in early access and confirm the mechanics and location described on this page. Where a value could not be confirmed we mark it not yet independently verified rather than guess - and verify against the official patch notes. Last verified: 2026-09-20.
Scope note: This page is written for 1.0 (October 15, 2026) from verified early-access data. Mechanics and location are confirmed. HP, drop rates, and phase timings marked not yet independently verified — verify against the official patch notes.
The Vukah Brawler is a poison-and-fog-weak giant fight, and the whole fight comes down to one habit: read the windup, move before it lands, and strike during the recovery window. The arena is open ground below Vukah Ceremony Hill — clear the smaller vukah on the hill first, then take the Brawler down. This page now carries the full fight video and frame-by-frame tips captured from a complete solo kill.
Where to find it
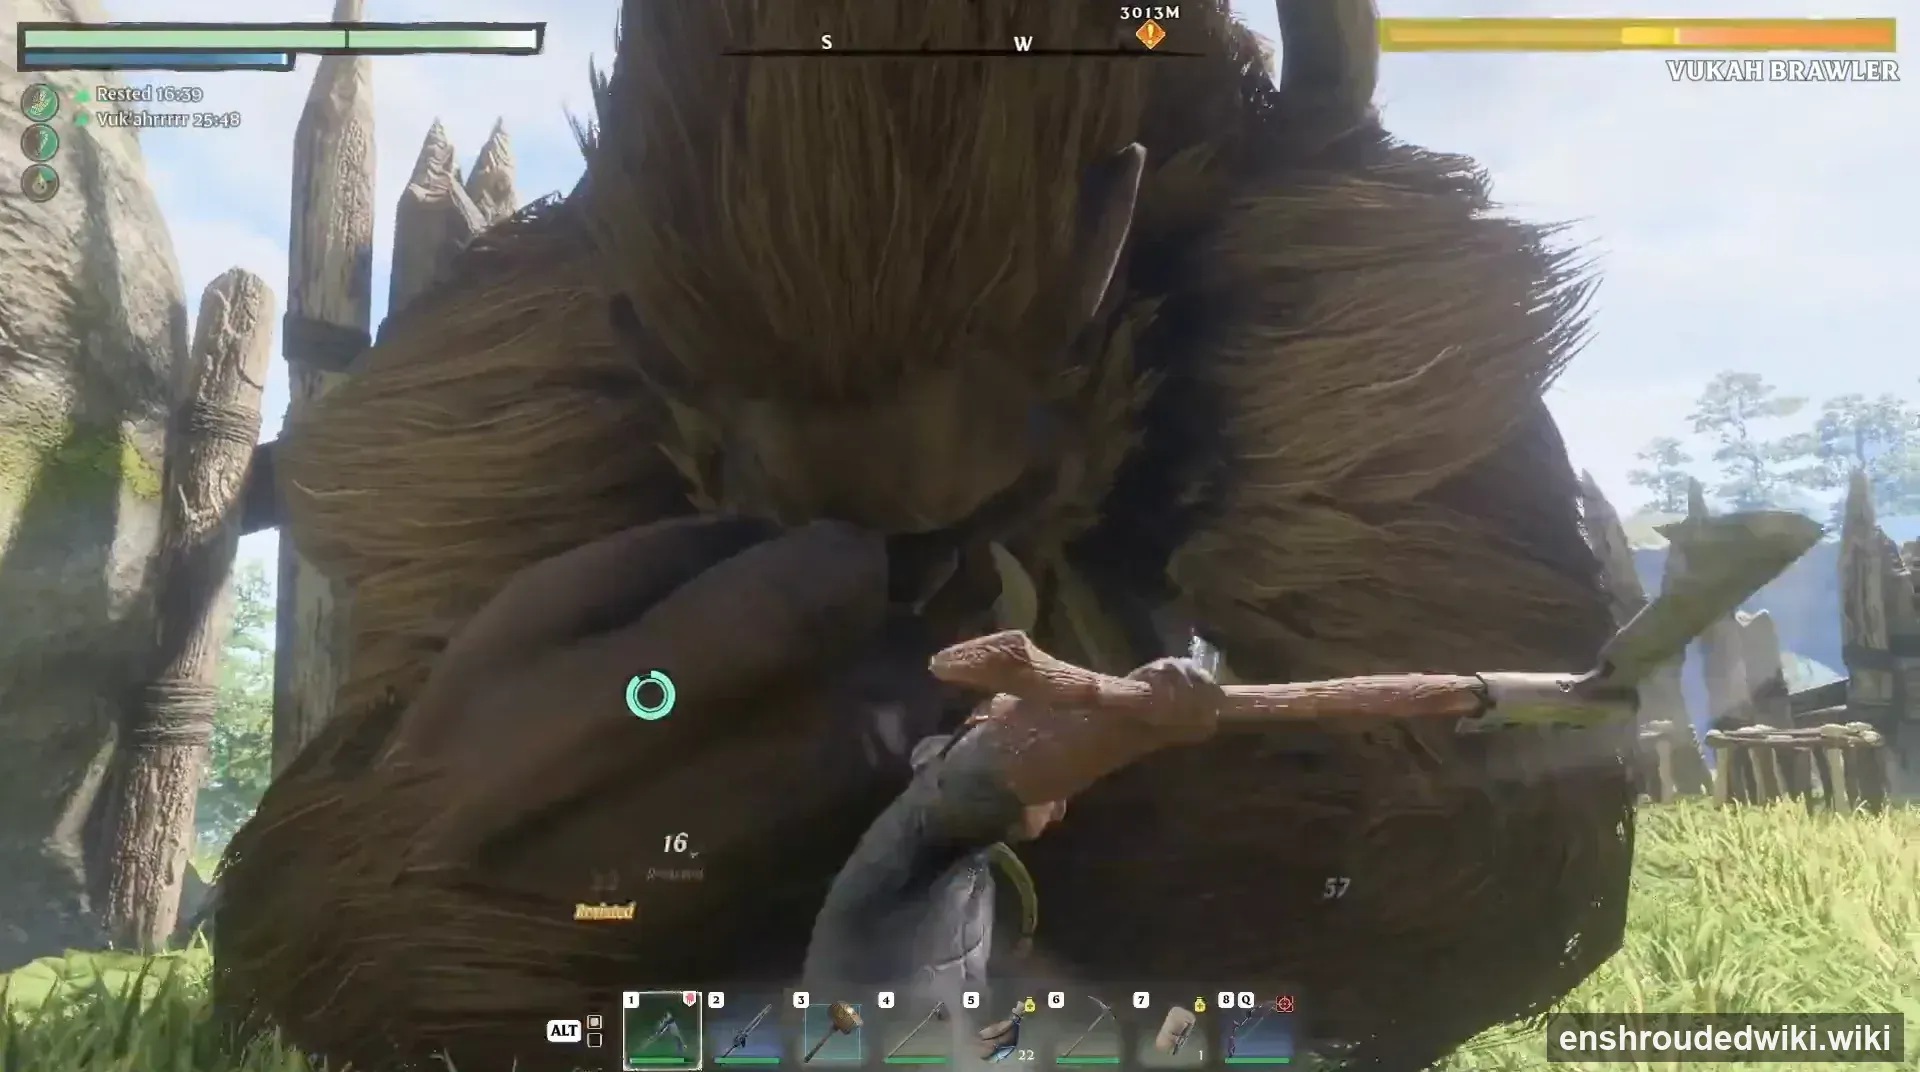
The vukah brawler lives in Low Meadows, Nomad Highlands, Kindlewastes — head to Nomad Highlands and follow the biome-specific landmark for this arena. See the Flame Altar guide for gate mechanics. The recorded fight takes place in the open sandy arena below the hill: plenty of room to side-step, with the tower ruin as a landmark.
Before you fight
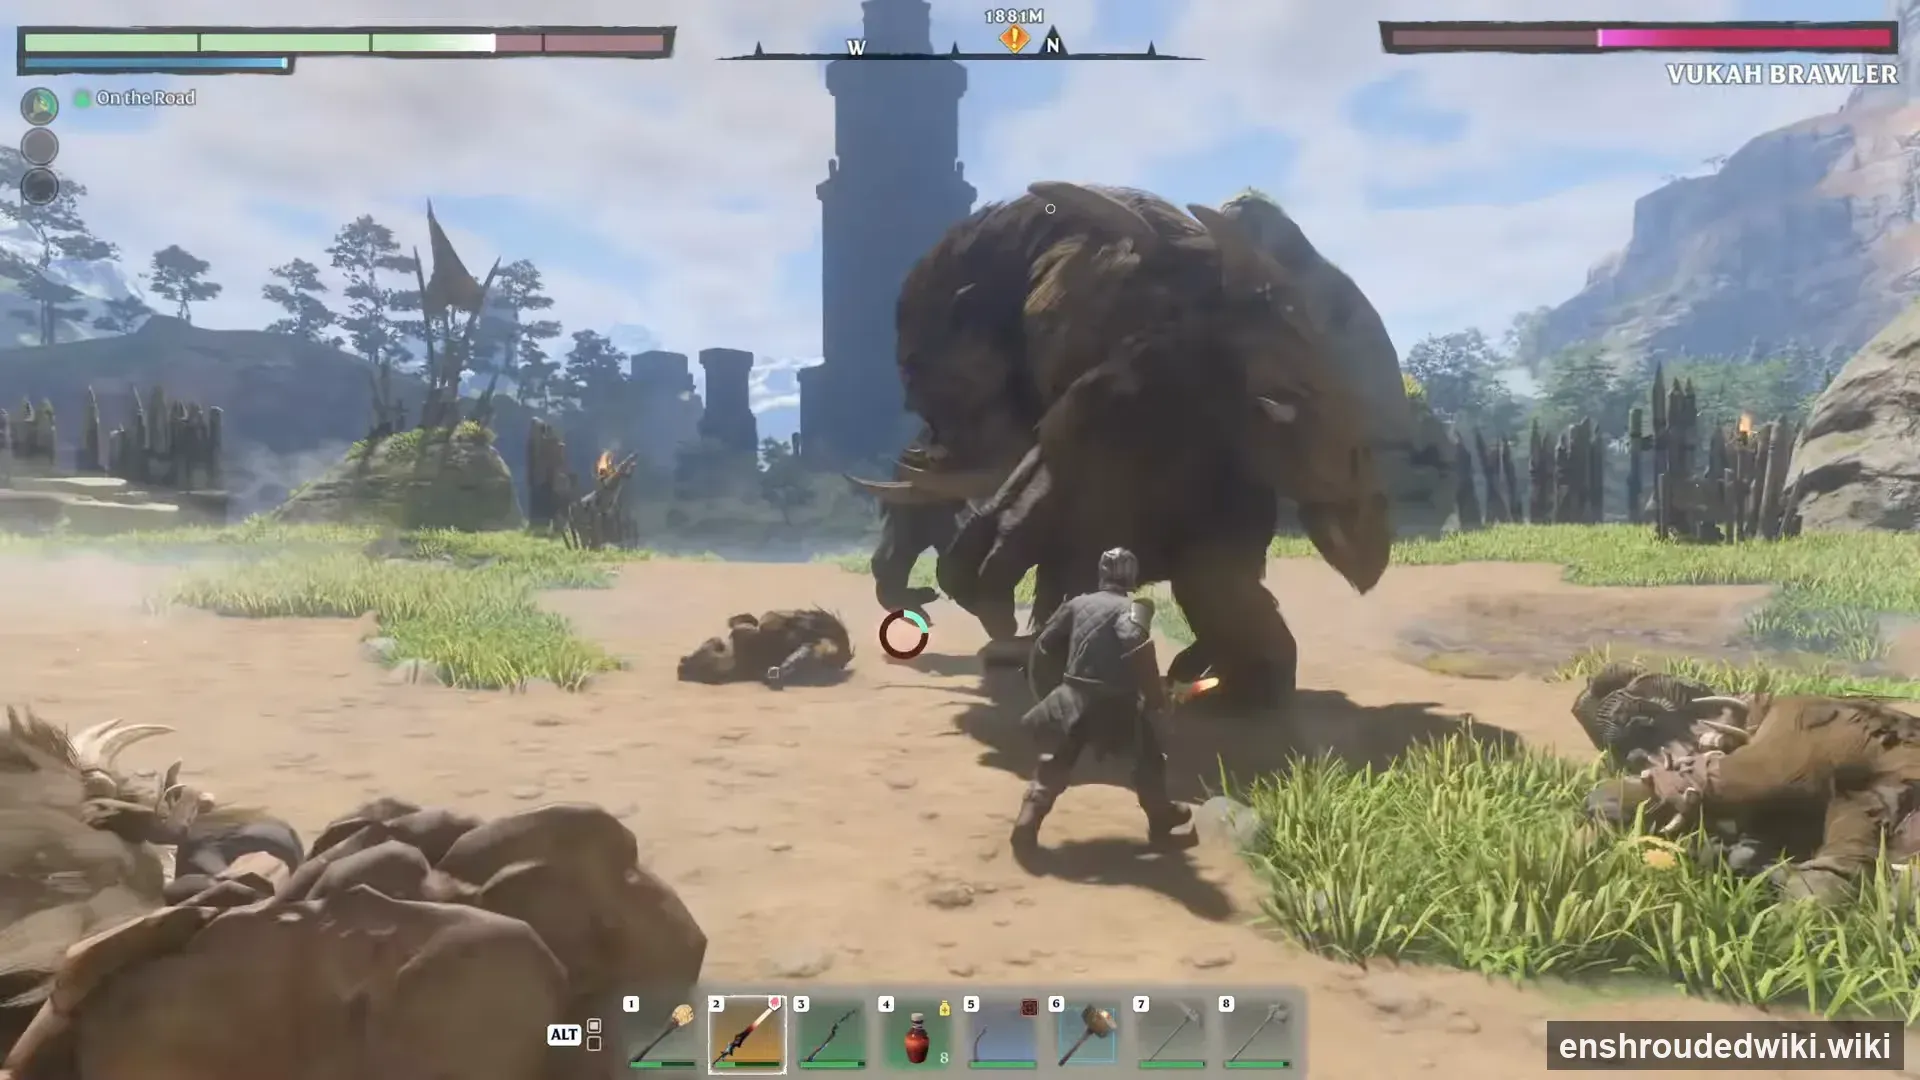
- Expect adds at the start. Smaller vukah occupy the hill before the Brawler engages; clear them so you are not dodging two threats at once.
- Stamina is the real resource. Every answer to the Brawler’s big moves is a dodge or a sprint — see the Comfort system guide for Stamina management.
Damage taken
Damage multipliers for this boss, read from the game data via the community wiki (not yet independently verified). Above 1.0× the boss takes extra damage of that type; below 1.0× it resists; immune means the type has no effect.
| Damage type | Multiplier |
|---|---|
| Physical Armor | 1× |
| Cut | 1× |
| Pierce | 0.8× |
| Blunt | 1× |
| Poison | 1.2× |
| Explosion | 1× |
| Skill Shot | 1× |
| Magical Armor | 1× |
| Fire | 1× |
| Fog | 1.2× |
| Ice | 0.8× |
| Lightning | 1× |
How to beat the Vukah Brawler: fight tips
Side-step the charge
From range, the Brawler closes distance with a straight charging rush across the arena. It travels in a line — one sideways dodge as it commits puts you beside it with its back turned.
Dodge on the roar
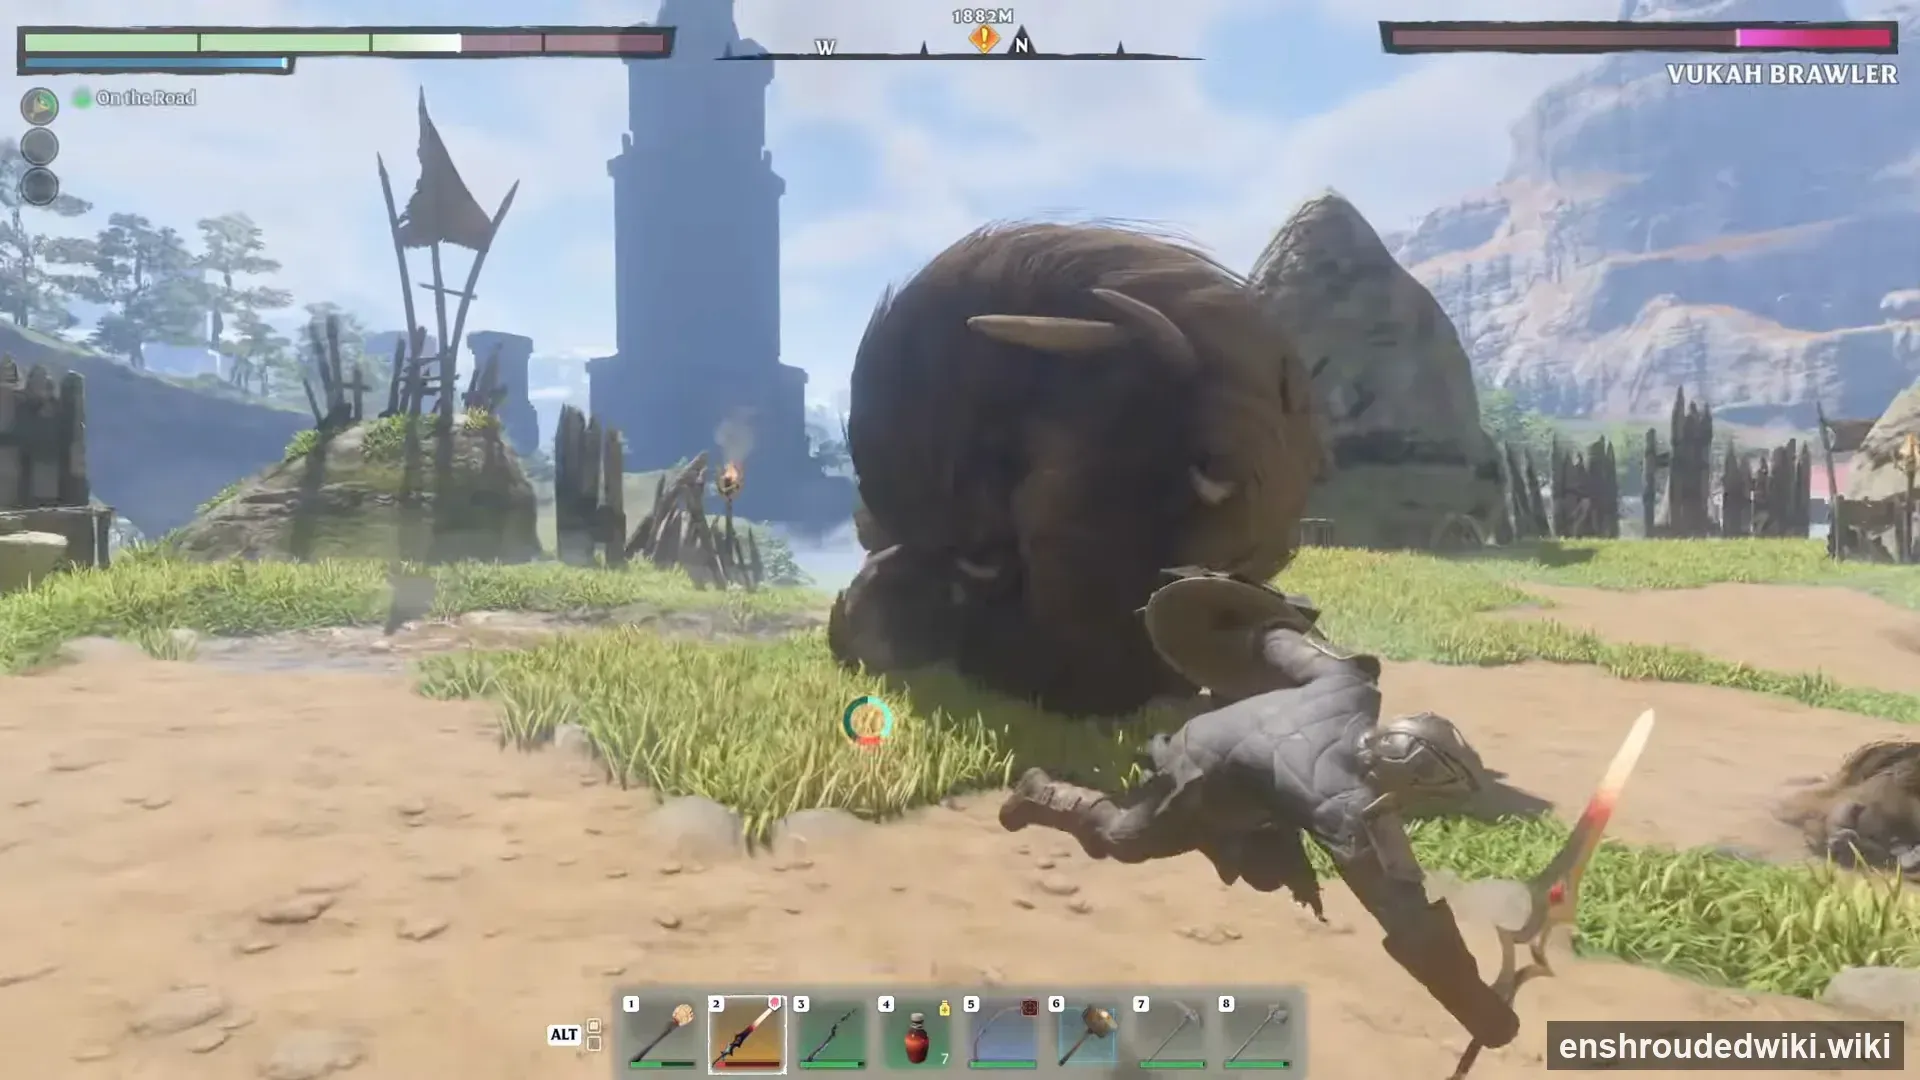
Before several heavy swings it lets out a roar and winds up. That roar is your cue to dodge — step aside as the swing comes in, then you are already clear for the punish.
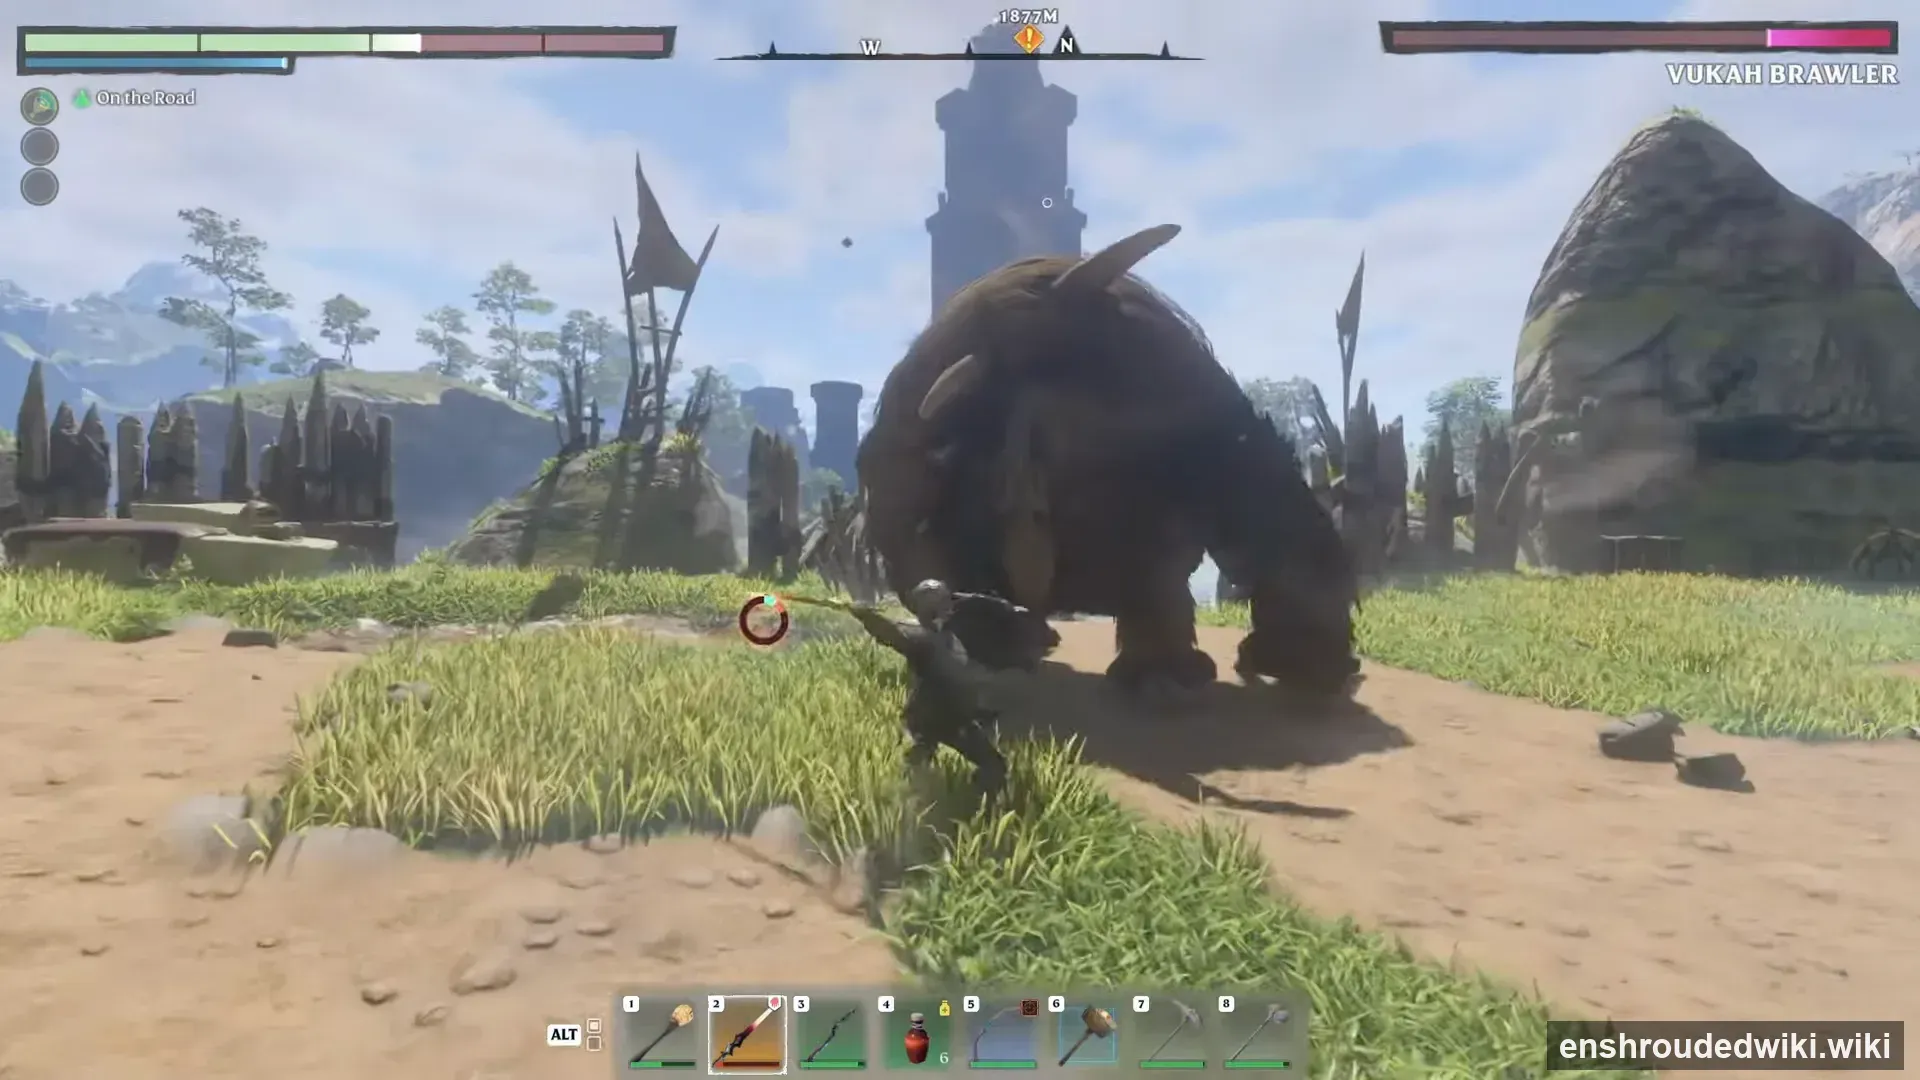
Dodge the leap-slam landing zone
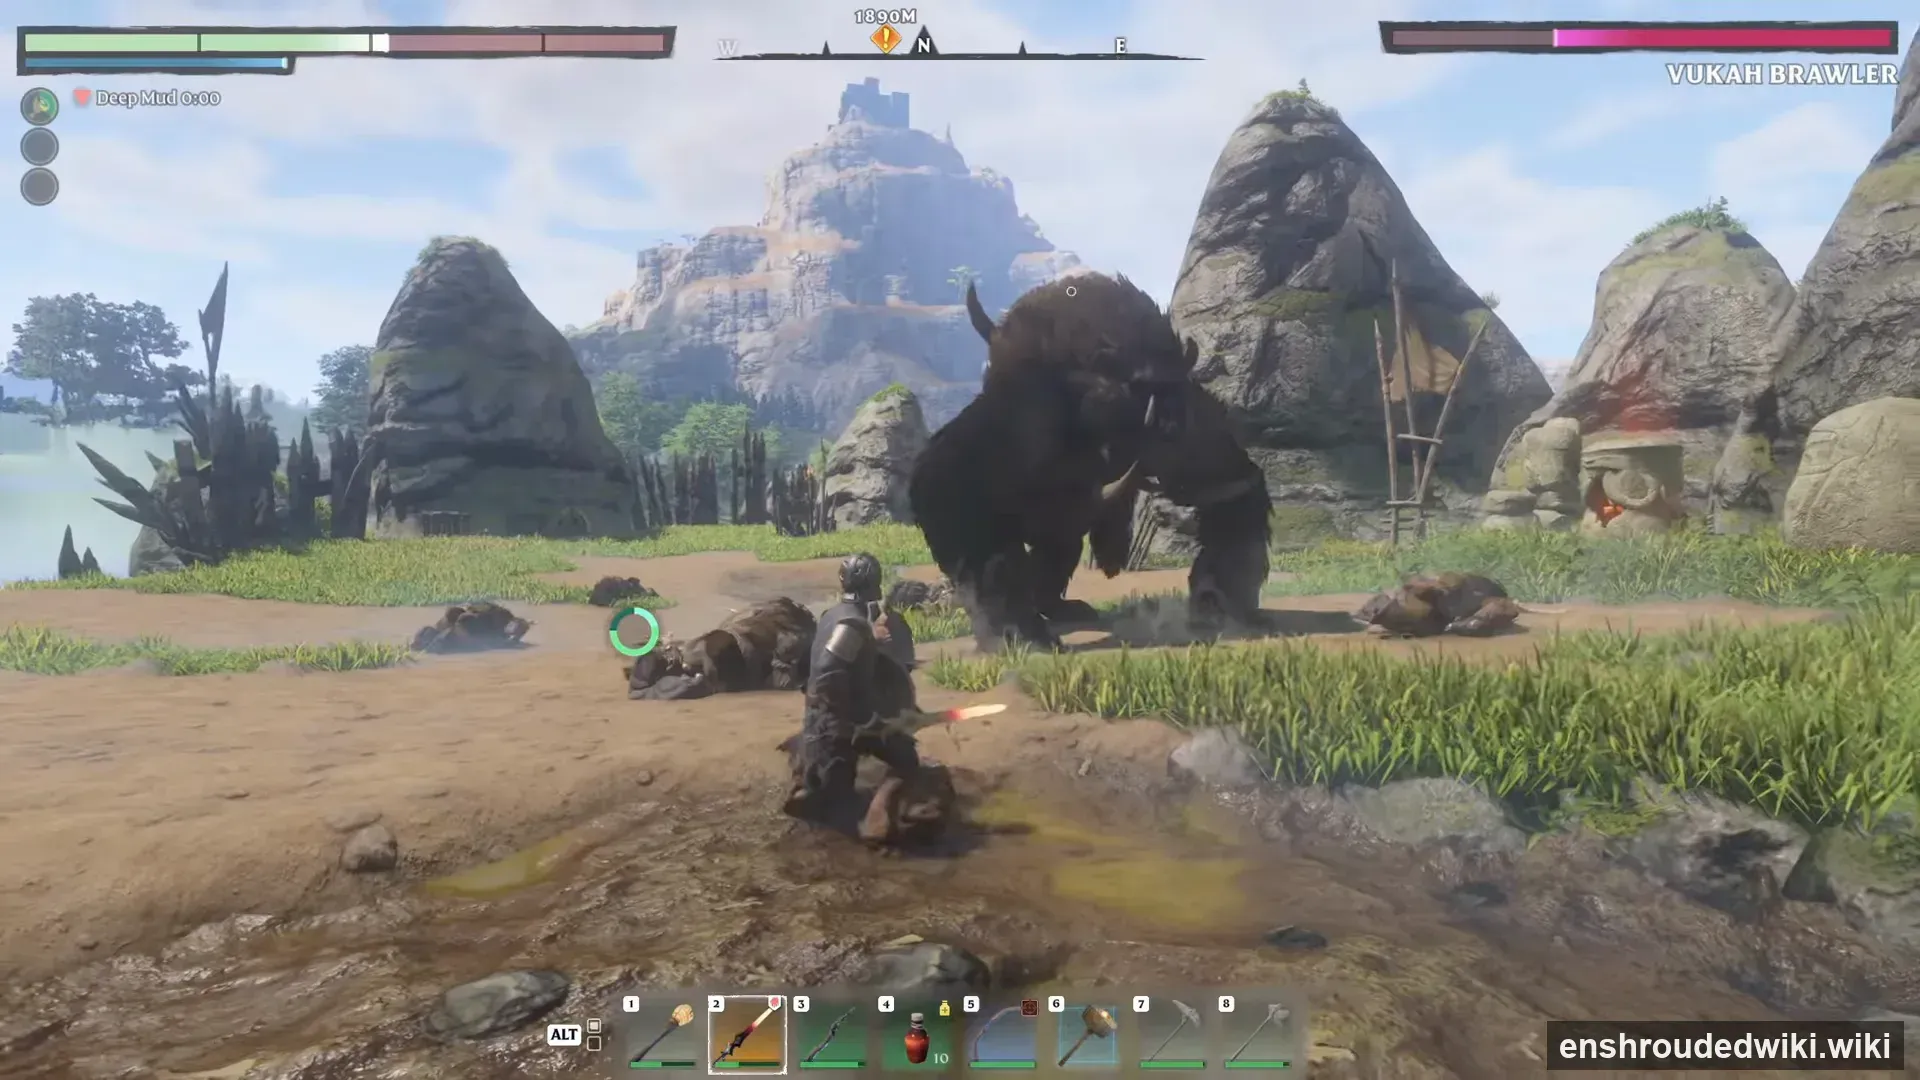
The signature move is a leap-onto-you slam. The tell is the crouch-and-launch: move out of the landing spot before it lands, then turn and punish. Getting hit by the slam is what turns this fight into a grind.
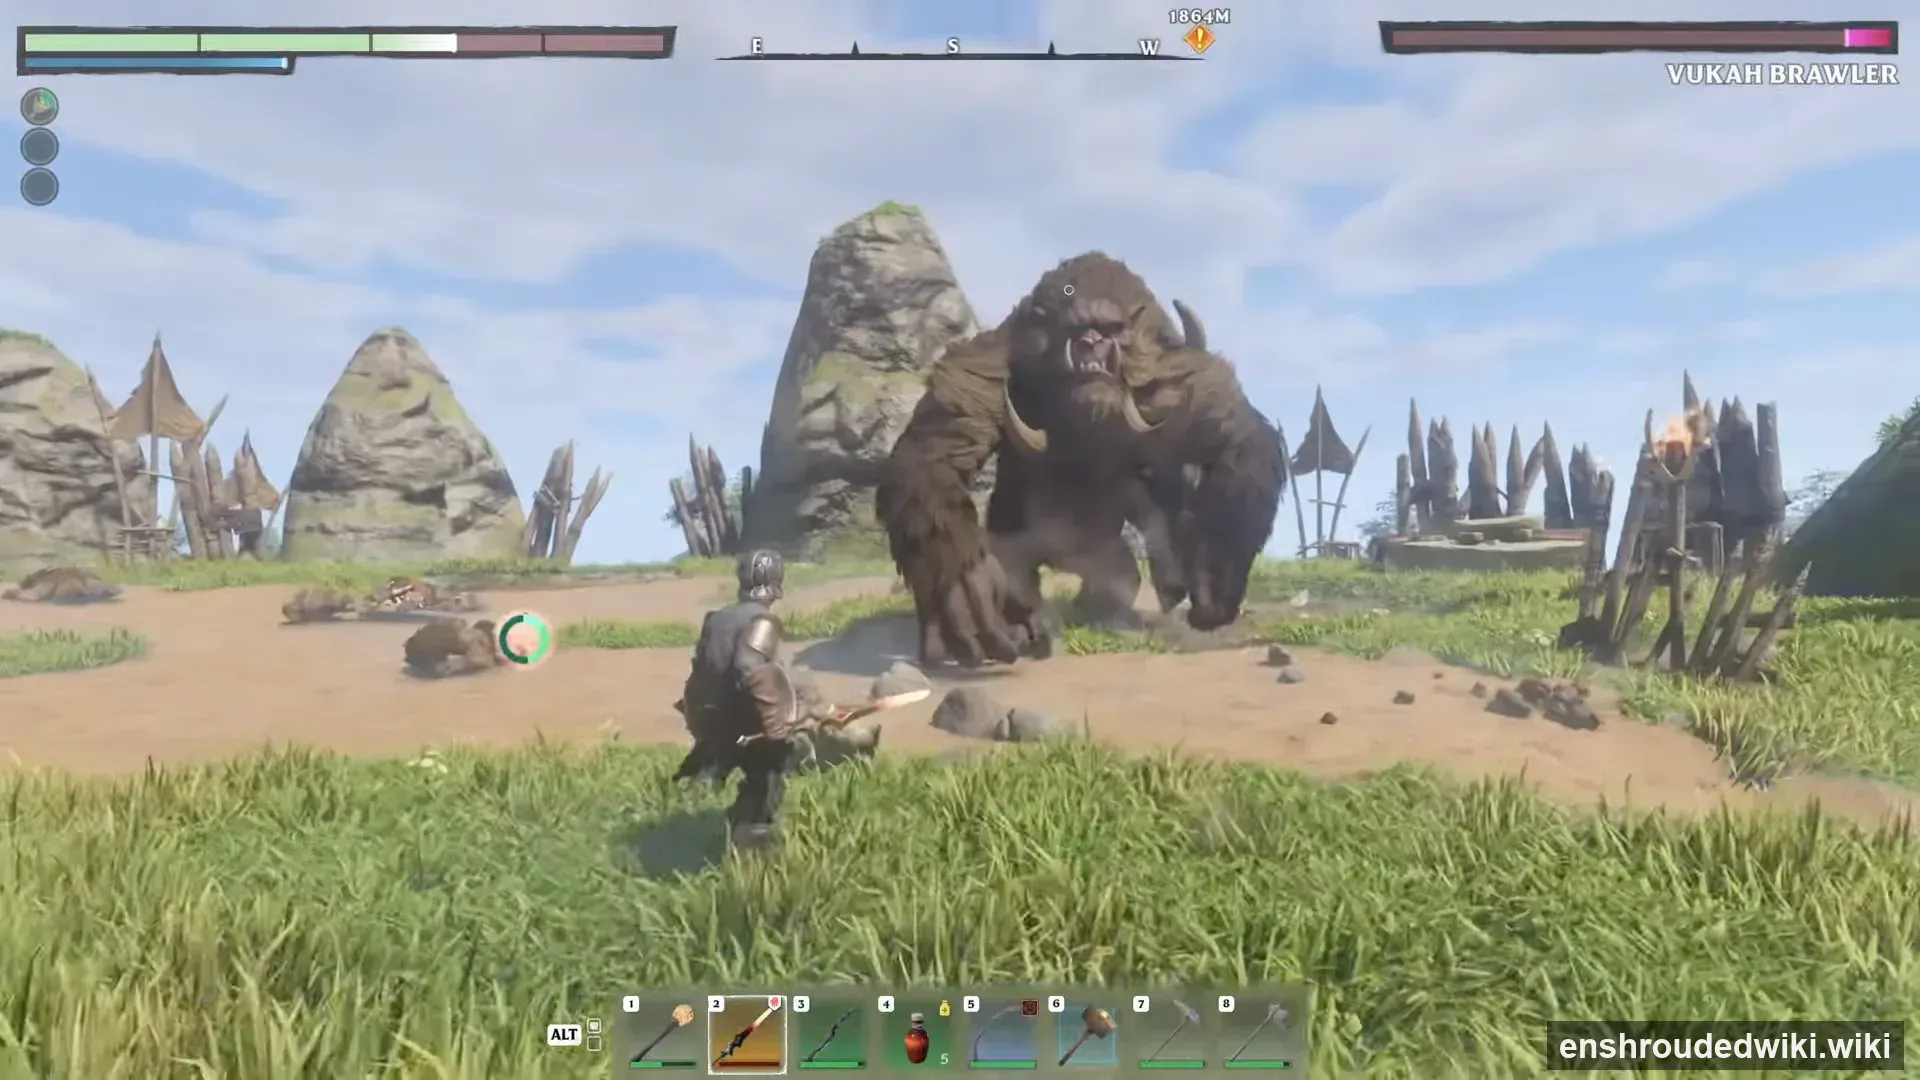
Strike during the recovery window
After the big swings it stays planted for a moment — that recovery window is where the damage numbers come from. Two or three hits, then reset spacing. Do not out-stay the window: its follow-up close swings are what punish greedy players.
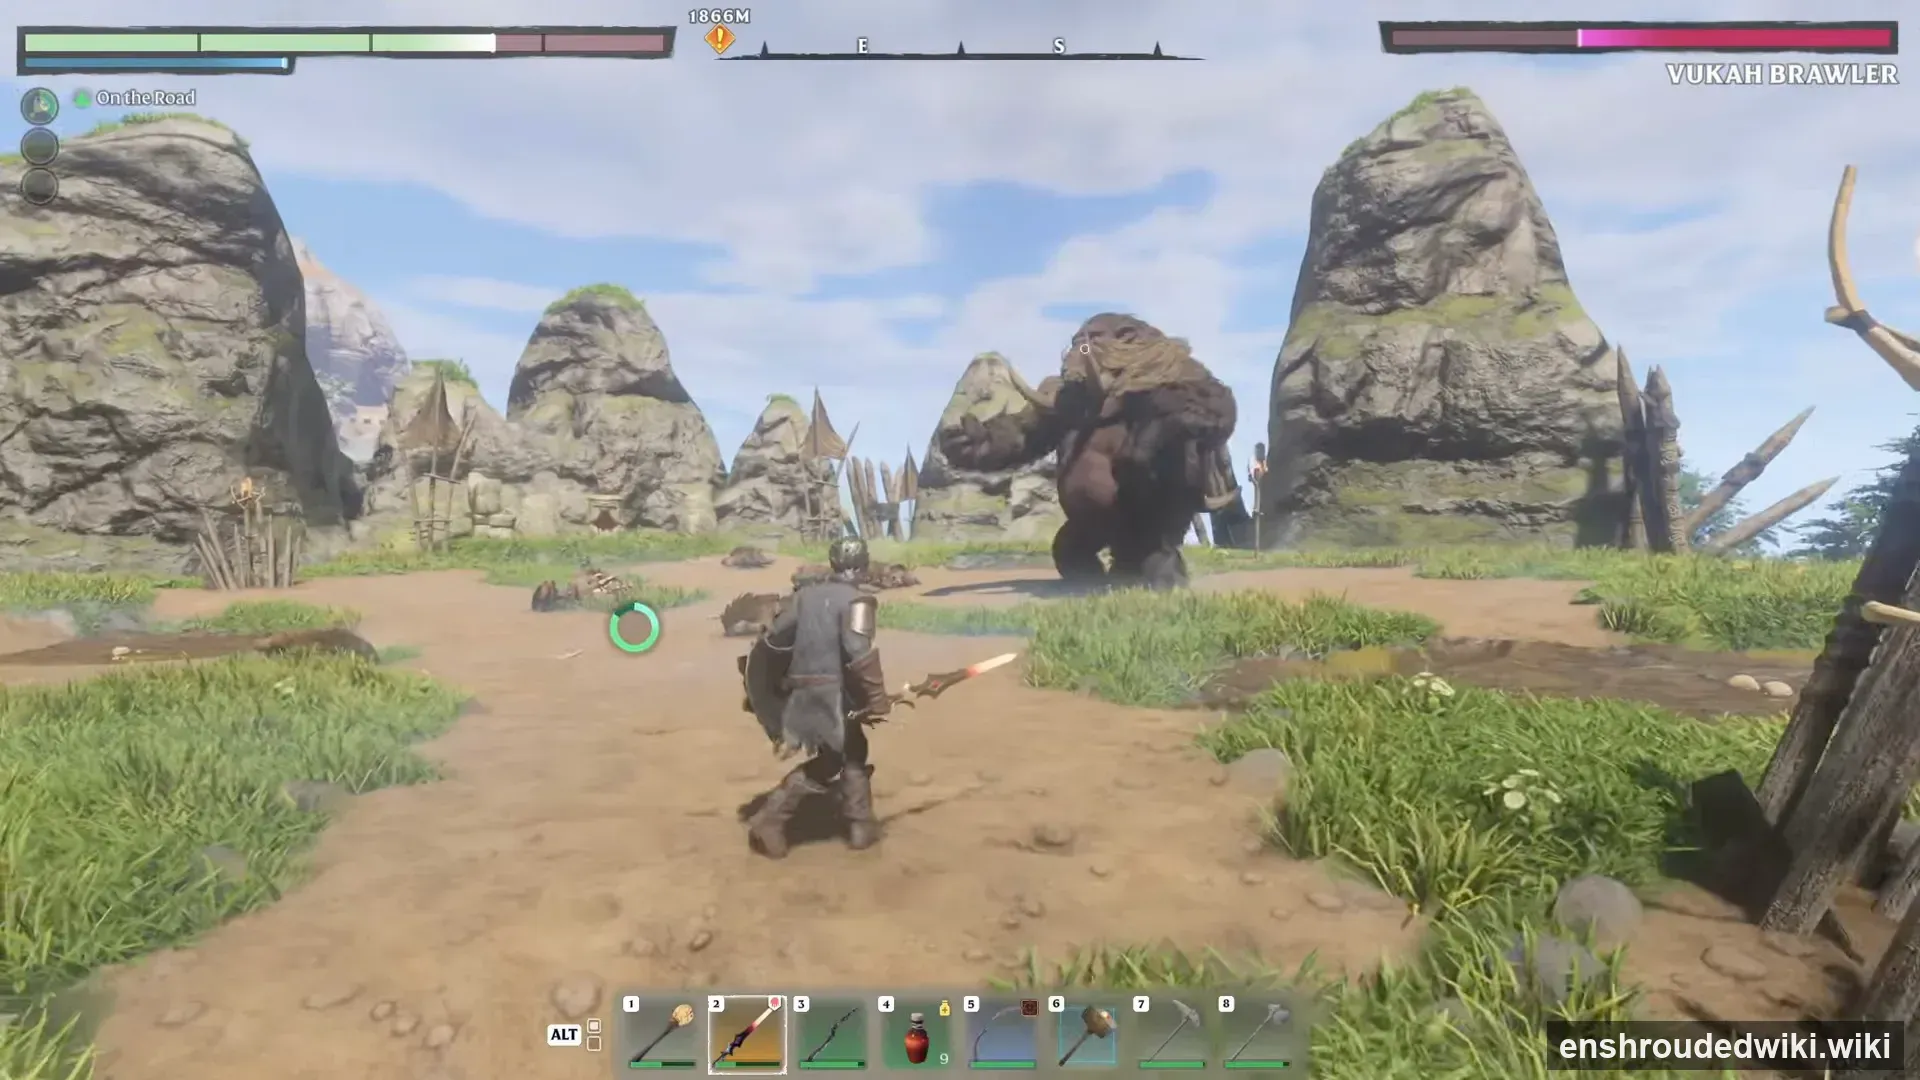
Vukah Brawler fight video
Attack patterns (verified early access)
1.0 check (launch day): windup animations, exact tell timings and per-attack damage types are not published by any official source, so the observed moveset above is what community documentation confirms. The general 1.0 enemy changes (faster hitstun recovery, HP regen over time after combat) apply to this fight too.
| Move (as observed) | What it does | Counter |
|---|---|---|
| Charging rush | Closes distance in a straight line across the arena. | Side-step once it commits; it travels past you. |
| Roar + heavy swing | Roars, then swings hard. | Dodge on the roar; the swing is slow and punishable. |
| Leap-onto-you slam | Crouches, leaps at your position, and slams the landing zone. | Dodge away from the landing spot during the windup, then punish. |
| Close-quarters swings | Fast melee swings when you stand next to it. | Block or dodge the first swing, strike in the recovery window, then reset spacing. |
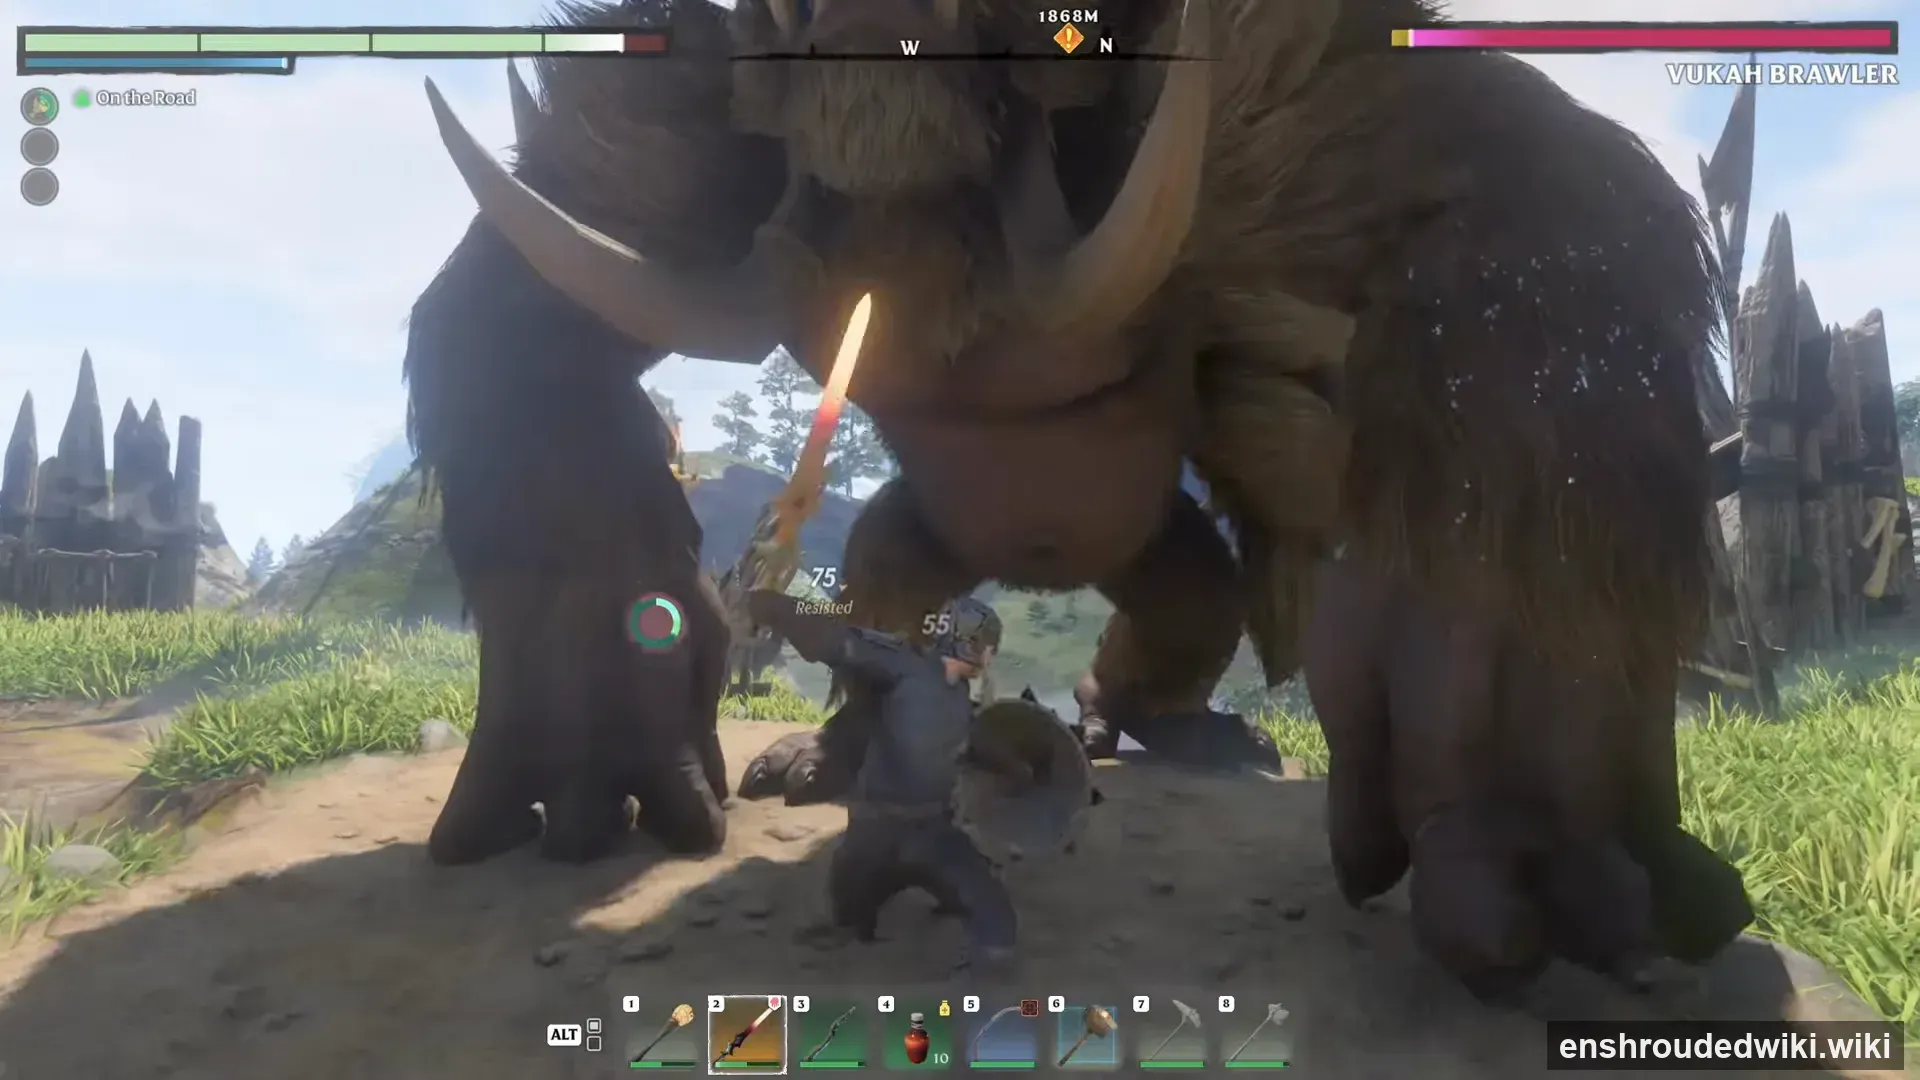
Named attack values, exact tell timings, and any 1.0 reworks stay placeholder until launch day.
Phase breakdown
Phases are structured for 1.0; only the early-access behavior below is confirmed, the rest is a placeholder for launch-day verification.
Phase 1 — Single phase (early access). The whole fight revolves around one telegraphed leap-onto-you attack: read the windup, move away from the landing spot, and punish the recovery. It is weak to poison and fog (1.2x each) and resists piercing and ice (0.8x).
Phase 2 —
No phase split confirmed at 1.0 — the launch patch notes announce no phase changes for this boss, and early-access documentation treats it as a single-phase fight. Phase thresholds stay pending in-game verification.
Phase 3 —
No enrage phase confirmed at 1.0 — the launch patch notes announce no phase changes for this boss. Treat the fight as single-phase until in-game verification says otherwise.
What changes at 1.0
1.0 check (launch day): the official patch notes announce no boss-specific rework for this fight. It gets the general 1.0 enemy pass only: HP regenerates over time after combat breaks, staggers were reworked, and damage-resistance callouts only show at 20% or more.
Recommended loadout
Poison and fog are the Brawler’s confirmed weaknesses (1.2× each) — bring a poison or fog weapon or consumable. Fire is neutral (1×), so a fire build gains nothing here, and it resists piercing and ice (0.8×), so do not lean on those either. Its leap attack has a long windup, so practicing the dodge timing pays off more than tanking the hit.
General guidance: match your build to the boss’s confirmed weak point — poison or fog. Bring Flame Altar safe-zone retreats within sprint range. See the Comfort system guide for Stamina management tips.
Drops & rewards
Verified drop table (community wiki, early access - to be verified at 1.0):
| Item | Quantity | Type |
|---|---|---|
| Vukah Brawler Head | 1 | Materials |
| Animal Fur | 8 | Materials |
| Apprentice Wand | 1 | Weapons |
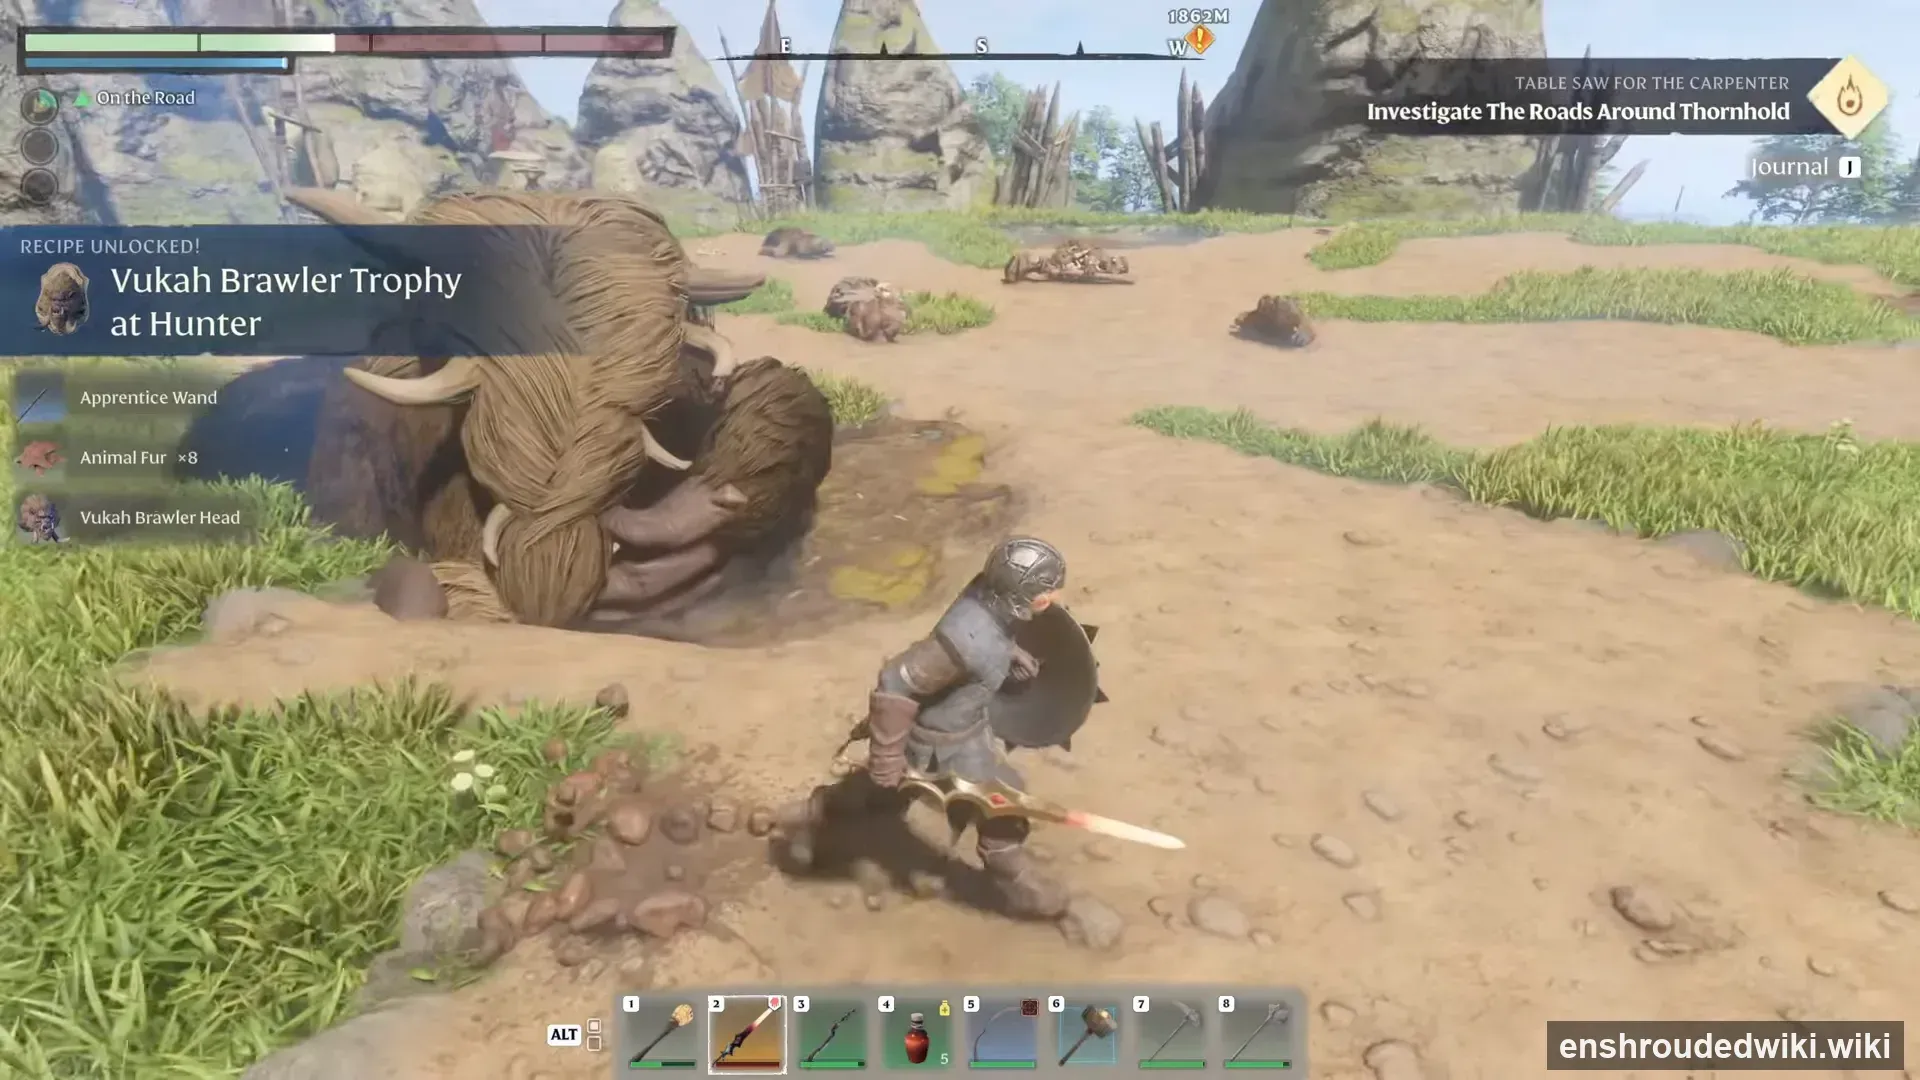
| Vukah Brawler Trophy recipe | 1 | Recipe (Hunter) |
1.0 check (launch day): Jezmina’s Apotheosis remains a listed legendary drop; the exact fixed-vs-chance rate is not published, so it stays pending in-game verification.
The loot screen below is from the recorded kill on this page: the Head, Animal Fur ×8, the Apprentice Wand, and the Vukah Brawler Trophy recipe unlock for the Hunter all appear on screen. The legendary Jezmina’s Apotheosis (not yet independently verified) remains the notable rare drop claim — re-check the drop rate at 1.0.
Boss defeat
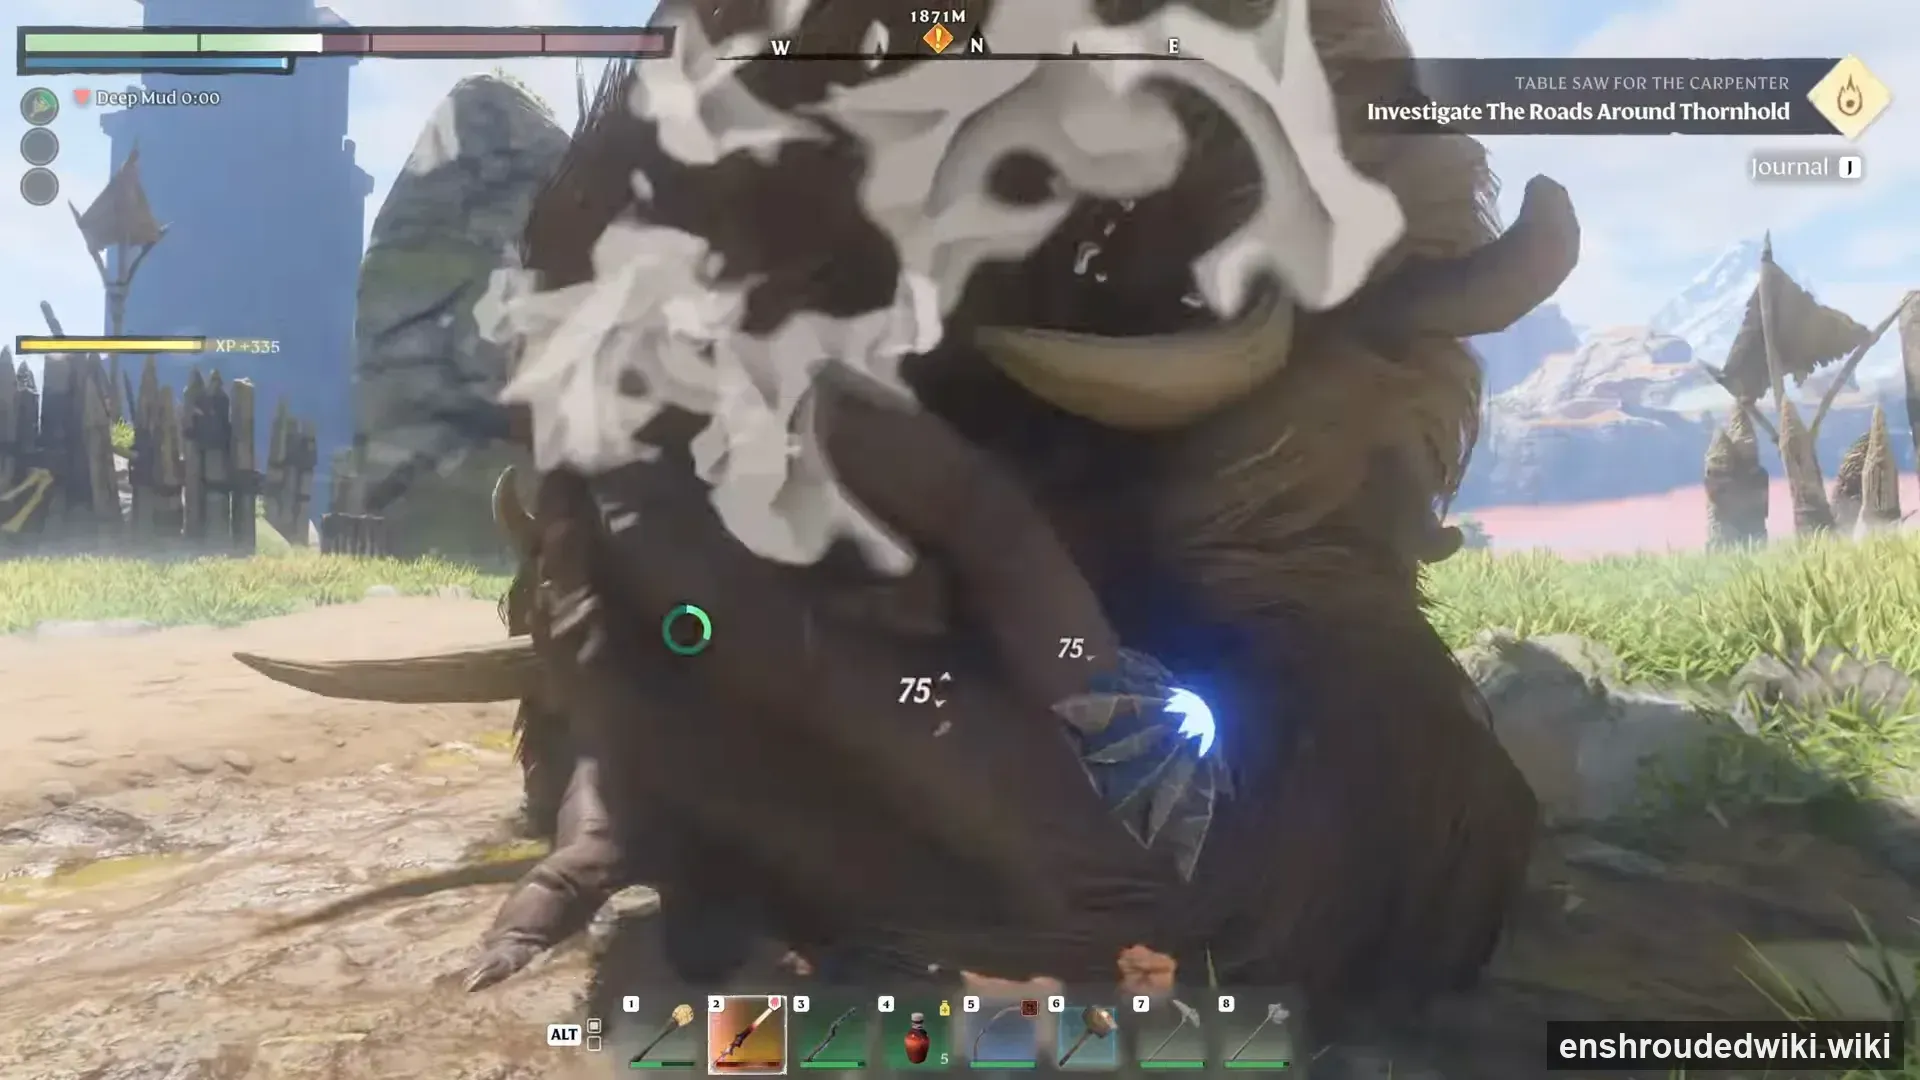
The frame below shows the killing blow landing on the Vukah Brawler — only expand if you want the fight’s end spoiled.
1.0 verification checklist
Re-check against the official patch notes on launch day:
- HP value (confirm in-game or from patch notes)
- Drop table and drop rates
- Phase count and tell timings
- Any named-attack reworks or balance changes
- Whether gate Flame level shifted
On the map
FAQ
Where is the Vukah Brawler found?
What is its strongest weakness?
What is its signature attack?
What does it drop?
Related Articles
bosses
Ancient S.P.D.R. Construct — Enshrouded 1.0 Boss in Cinder's Cradle (Lv 48)
How to beat the Ancient S.P.D.R. Construct in Enshrouded 1.0: a heavily armored Ancients boss in Cinder's Cradle, level 48.
bosses
Armored Fell Thunderbrute — Enshrouded's Armored Fell Boss (weak to Fire)
How to beat the Armored Fell Thunderbrute in Enshrouded: an armored variant of the Fell Thunderbrute across seven regions, weak to Fire and immune to Shroud.
bosses
Fell Crimson Critter Queen — Enshrouded Variant (weak to Poison & Ice)
How to beat the Fell Crimson Critter Queen in Enshrouded: a Fell variant in three regions, weak to Poison and Ice, resistant to Cut/Pierce/Blunt, immune to Shroud.
Was this helpful?
Thanks for the feedback!