Enshrouded Beginner Guide - Stats, Flame Altar, First 15 Levels
A new Enshrouded player needs: six core stats explained, how to place a Flame Altar (safe zone, respec, Rune cost), and a level 1-15 route through Springlands.
Editor’s note: We have been testing this in early access and confirm the mechanics and location described on this page. Where a value could not be confirmed we mark it not yet independently verified rather than guess - and verify against the live 1.0 build. Last verified: 2026-09-20.
This guide is for someone opening Enshrouded for the first time at 1.0 (October 15, 2026). It covers the three things that matter most in your first session: the six core stats, the Flame Altar, and a clean path through your first 15 levels.
What are the six core stats?
Enshrouded has six core stats that shape every build. There are no fixed classes - how you distribute these points is what defines your playstyle.
| Stat | What it affects | Per point | Typical use |
|---|---|---|---|
| Strength | Melee damage | +5% melee damage | Warrior / Barbarian (melee) |
| Intelligence | Magic damage + Water Aura healing | +5% magic damage | Wizard / Healer / mage builds |
| Dexterity | Ranged damage | +5% ranged damage | Ranger / Assassin (archer) |
| Constitution | Max health | +50 max health | Any build needing a durability floor |
| Endurance | Stamina pool | +10 stamina | Builds that keep drawing or sprinting |
| Spirit | Mana pool | +40 mana | Spell/skill-spam builds |
Skill points arrive as you level: 36 by level 10 and 72 by level 20 (roughly 54 by level 15), from a total pool of 184 at the level-45 cap.
For how these stats interact with the 12 skill paths, see the Forging the Path skill tree guide.
What is a Flame Altar and why do you need one?
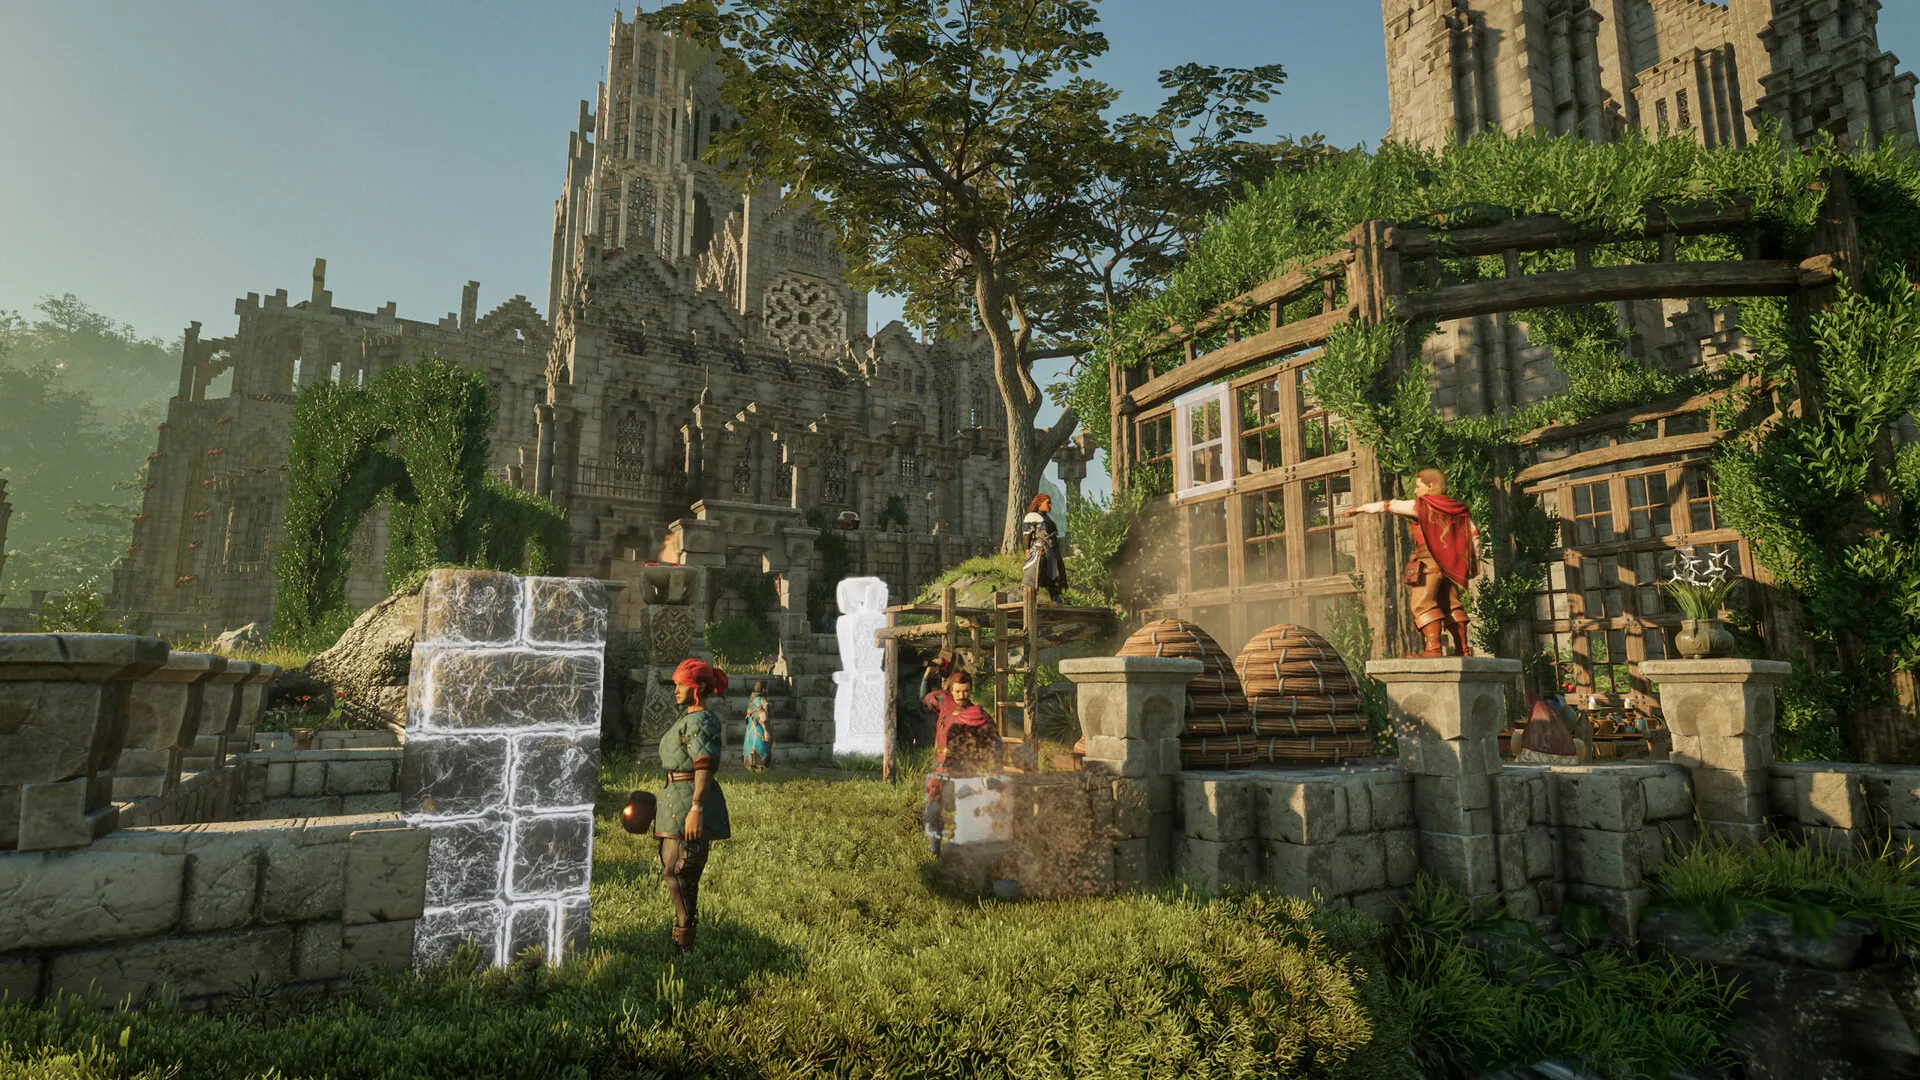
A Flame Altar is your home base - it is where you craft, store items, and (critically) reset your skill tree. It also carves out a protected build zone around your camp, where you get extended Shroud-survival time. Whether the mist itself fully recedes inside that radius - and exactly how far it reaches - is not yet independently verified, so treat the zone as survivable ground rather than permanently cleared ground.
Key facts:
- Placement: You place a Flame Altar at your chosen base location. You start with 2 slots and can raise the cap to 10 as you Strengthen the Flame (more on that below).
- Build zone: The altar projects a buildable/protected zone starting at 40×40×40 meters, expandable through upgrades up to 160×160×160. You can only build inside this zone, and it must be placed on Shroud-free ground (it does not function inside the Shroud).
- Safe zone: The area around the altar is kept clear of enemies, and buildings/terraform placed there persist unless you destroy the altar.
How to place a Flame Altar
- Gather 5 Stone (picked up on the ground near the start or mined with a pickaxe).
- Open the Inventory crafting menu, select the Flame Altar, and craft it.
- Put it on your hotbar, select it, and place it on flat, obstacle-free ground.
- The build zone activates; enemies are kept out of the protected area.
A Flame Altar cannot be moved - to relocate, you must extinguish it (frees the slot) and rebuild elsewhere.
How to respec your skill tree at a Flame Altar
Respecing is done at a Flame Altar and costs Rune.
- Cost: 1 Rune per skill point refunded.
- What resets: All allocated skill points are returned to you and you can redistribute them across the four rings.
- What does NOT reset: Your character level, stats, inventory, or base.
Rune are obtained by recycling upgradable equipment (armors, shields, wards, rings, etc.) introduced in Update 8.
1.0 check (launch day): the patch notes announce no respec-cost change — the 1:1 Rune rate stands. One caveat: loading a pre-1.0 save resets the skill tree entirely, so your first “respec” after migrating is a full rebuild.
For the full skill tree system, see the Forging the Path skill tree guide.
Recommended level 1-15 route through Springlands
You awaken in the Cindervault, the starting stronghold at the heart of Springlands - the lowest-level biome (levels 1-10, Flame 1-2) where you learn the basics. The recommended path:
Level 1-5: Learn the basics
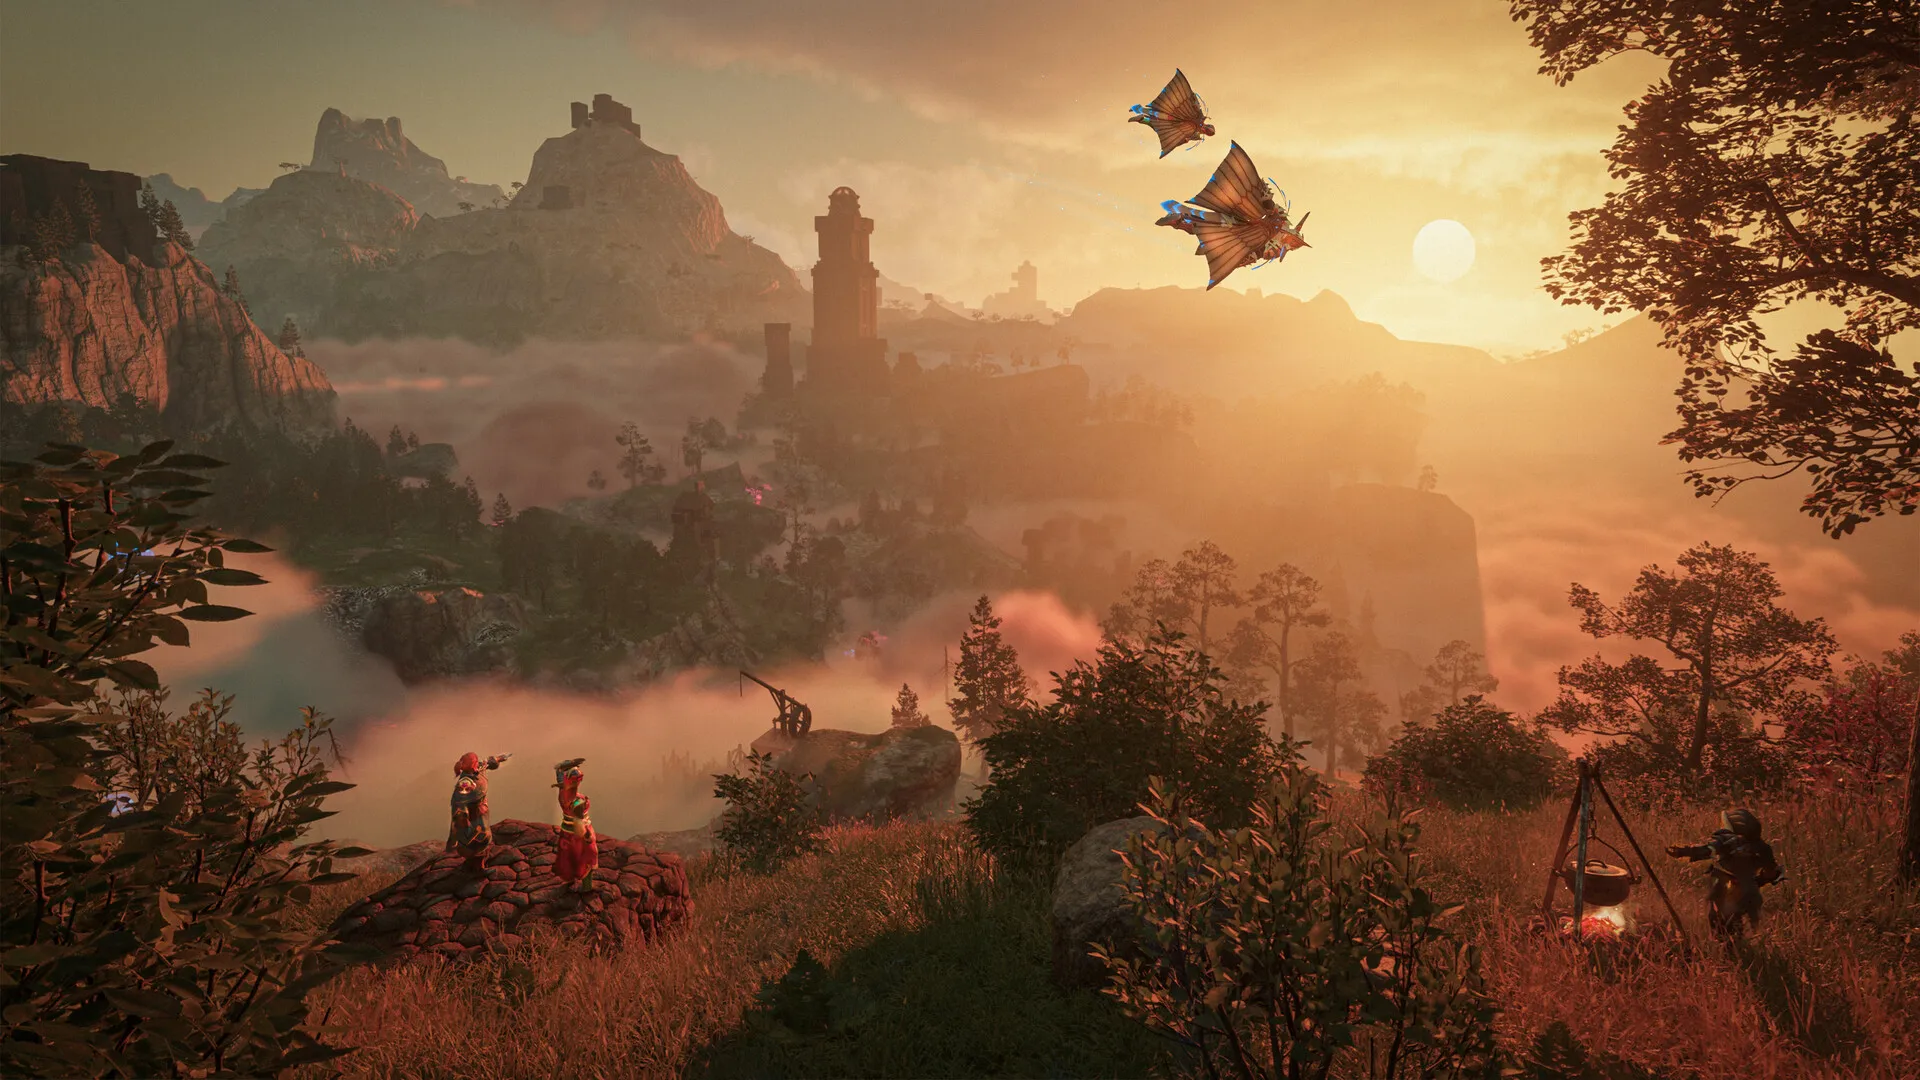
- Commune with the Flame in the Cindervault, then step into the Springlands (the beginner biome).
- Craft a Stone Axe (5 Wood + 5 Stone) and Stone Pickaxe, then place your first Flame Altar (5 Stone) on flat, Shroud-free ground to establish a safe zone.
- Rescue the Blacksmith first - he unlocks the Glider and Grappling Hook, the two biggest early mobility unlocks. The Alchemist (healing potions) and Farmer follow.
- Craft a Wand (unlimited ammo, pairs with a shield) - the most forgiving beginner weapon.
Level 5-10: First skills and first bosses
- Allocate your first skill points (~36 by level 10) - take the center-hub picks first (Double Jump, Blink, Updraft), then commit to one primary path (see the skill tree guide for first-invest advice).
- Fight the Fell Thunderbrute (first miniboss, at the Elixir Well east of Braelyn Bridge) and the Scavenger Matron (Hill of Scavengers) - the Matron’s trophy is part of your early Flame progression.
- Feed boss heads to your Flame Altar to raise the Flame (the actual progression system - you “hunt heads”, not grind XP).
- Exact materials for each Flame-level upgrade, from the community wiki (early access — re-check at 1.0). Every level also requires the matching boss head dropped by that region’s main boss:
| Flame Level | Survivors | Spark | Other key materials | Boss head required |
|---|---|---|---|---|
| Level 2 | 0 | 1 | Resin 5, Penny Bun 5, Bones 5, Shroud Liquid 5, Animal Fur 5 | — |
| Level 3 | 2 | 5 | Wax 10, Salt 10, Shroud Wood 10, Flintstone 10, Mycelium 25 | Scavenger Matron Helmet |
| Level 4 | 4 | 10 | Goo 15, Corrupted Boar Tusk 15, Indigo Plant 15, Amber 15, Copper Ore 15 | Fell Wispwyvern Head |
| Level 5 | 6 | 20 | Mint Mushroom Meat 20, Fossilized Bone 20, Ammonia Gland 20, Tin Ore 20, Rooibos 20 | Fell Monstrosity Head |
| Level 6 | 8 | 40 | Enshrouded Vulture Talon 40, Saffron 40, Iron Ore 40, Lapislazuli 40, Brittle Shroud Flakes 40 | Fell Sicklescythe Head |
| Level 7 | 10 | 40 | Wool 40, Gentian 40, Ice 40, Granite 40, Flammable Goo 40 | Fell Cyclops Head |
| Level 8 | 12 | 50 | Obsidian 50, Silver Bars 50, Mauveine 50, Wolfsbane 50, Amethyst 50 | Fell Dragon Youngling Head |
| Level 9 | 14 | 60 | Gold Ore 60, Green Vitriol Dust 60, Passionflower 30, Aquamarine 60, Pearl 30 | Hydrak’Dal Head |
Level 10-15: Ready for Revelwood
- By level 10-15 you should have a primary path invested, a Flame Altar in a safe location, and the gear to push into Revelwood (the second biome, ~levels 10-15).
- In Revelwood, the Fell Wispwyvern at The Pike (Pikemead’s Reach) drops the head you need for Flame level 4 - clear it to unlock deeper Shroud access.
- 1.0 check (launch day): the patch notes do not publish biome Flame gates, so the early-access band stands pending in-game verification. What did change at 1.0: the world is fully open, Cinder’s Cradle adds a seventh region, and most former no-build zones are now buildable.
What to do before leaving Springlands
- Bank any excess materials at your Flame Altar.
- Make sure your Flame Altar is in a location you will want to return to (near the Revelwood border is ideal).
- Confirm your skill tree allocation matches the playstyle you want to bring into the next biome.
Common beginner mistakes
- Spreading skill points across multiple paths early. Pick one primary path and commit before level 15; mixing paths too early makes every build underpowered.
- Not placing a Flame Altar early. Without a safe zone, the Shroud makes exploration frustrating. Place your first altar within your first 30 minutes.
- Watching for launch-day rewards. Keen has not shipped redeem codes for this game - there is no code system at all - so check the official channels on October 15 for any launch-day announcements or rewards.
Where to go next
- Ready for your first boss? The bosses & dungeons hub lists every boss and where to find it.
- Your first biomes. Springlands is the safe start; Revelwood is where you push at level 10-15.
- See the whole world. The interactive world map shows the seven biomes in south-to-north order with the verified boss locations pinned on real terrain.
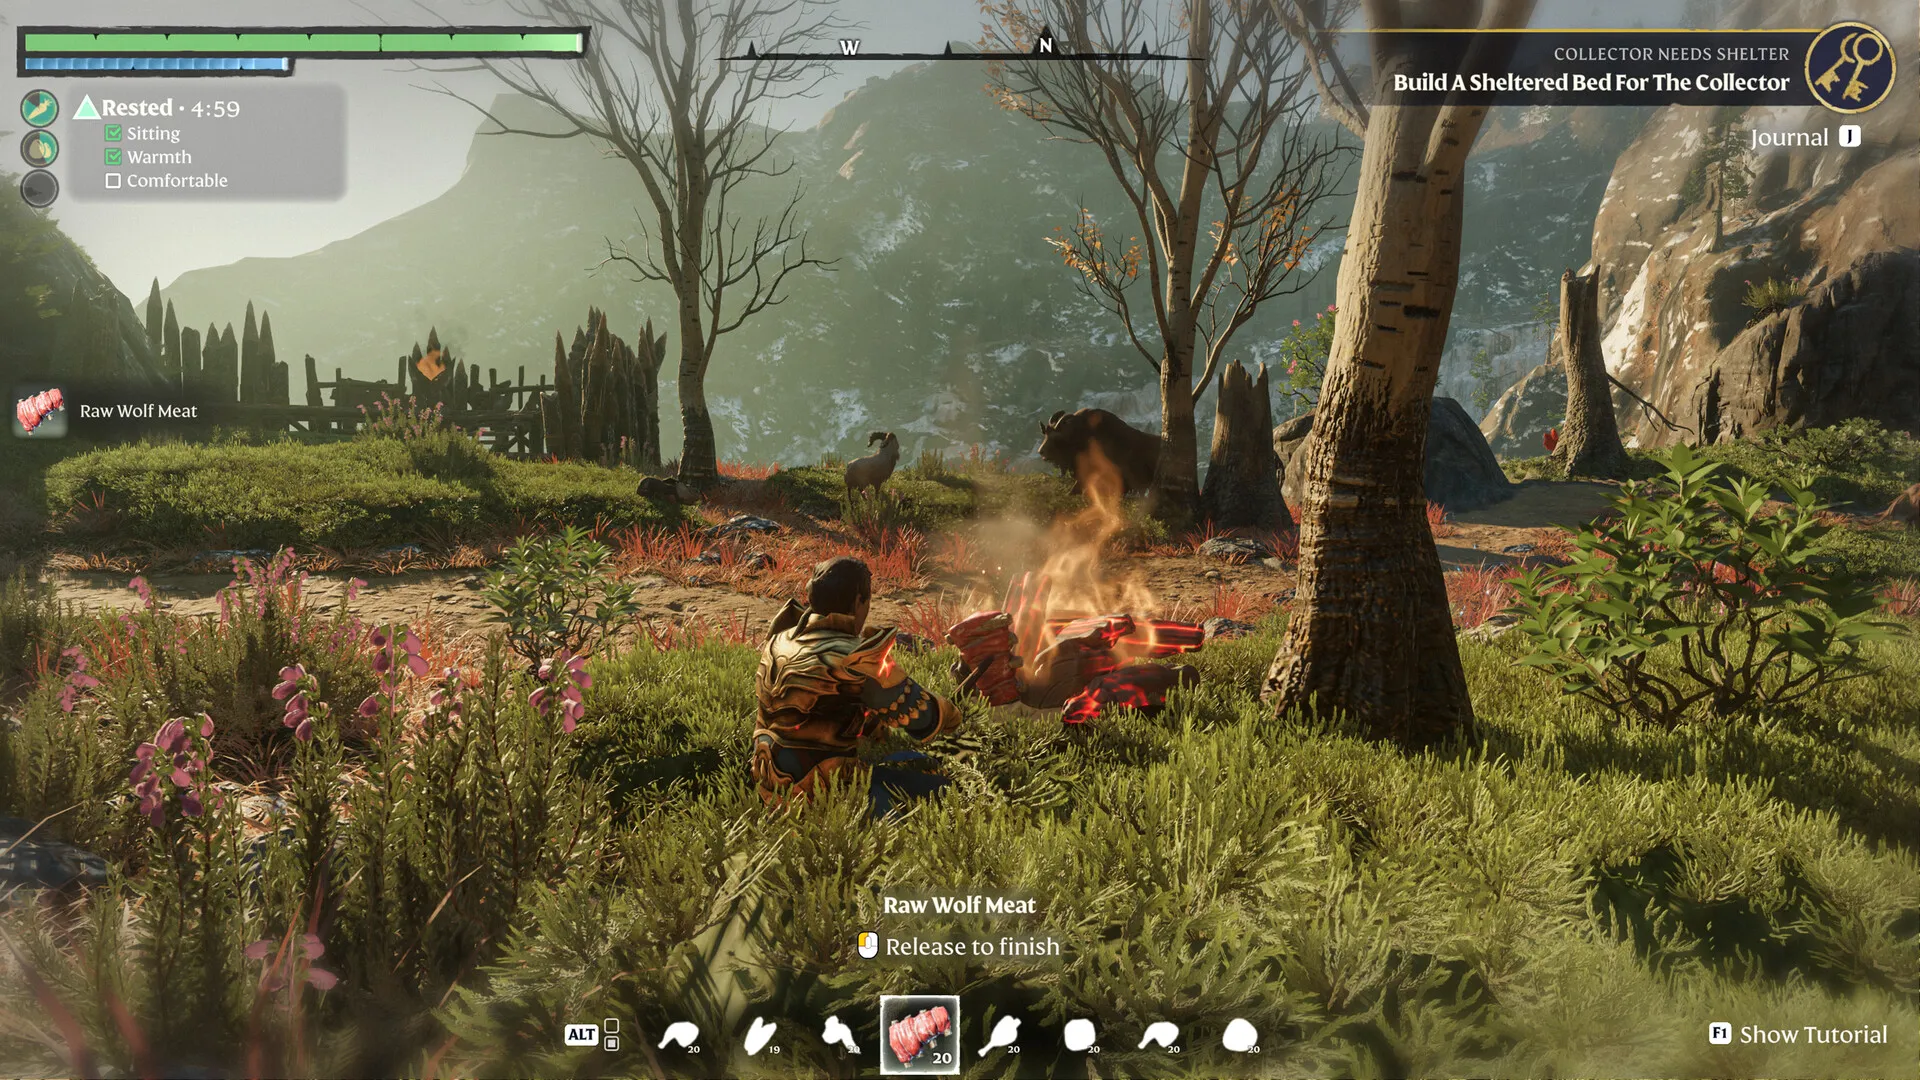
- Make the camp safe and cozy. The Flame Altar is your safe zone, and the Comfort system keeps the Rested buff going.
- Playing with friends? Use the co-op team planner to assign tank, healer, and DPS before your first dungeon.
- Want a relaxing side loop? The Enshrouded fishing guide explains the 1.0 bait rework.
All in-game screenshots are © Keen Games and are used here for editorial reference only. Not for commercial redistribution. Source: Enshrouded on Steam.
FAQ
What are the six core stats?
What is a Flame Altar and why do I need one?
What should I do in my first session?
How do I respec my skill tree?
Related Articles
guides
How to Get Clay in Enshrouded — Revelwood Clay Deposits
Clay is mined from orange-brown clay deposits in the Revelwood. Learn where clay nodes are, what you mine them with, and what clay is used for in building.
guides
How to Get Copper Ore in Enshrouded — Revelwood Nodes & First Pickaxe
Copper Ore is the first metal you need in Enshrouded. Find Copper Ore veins in the Revelwood, mine them with a pickaxe, and smelt the bars for early gear.
bosses
Scavenger Faction — Scavenger Matron, Three Combat Variants & Flame 3 Gate
Scavenger Matron: three combat forms (Standard, Gorger, Grizzler), Flame 3 requirement, grapple-hook unlock, and why it's the second boss most runners face.
Was this helpful?
Thanks for the feedback!